


MAX4466 Electret Microphone Amplifier With Adjustable Gain for Arduino
Categories :
Amplifier | Linear ICsSKU :
1941838100% original guarantee
Return within 30days
Free delivery on all orders
You may also like


TI LM311DR Chip SOP-8 Single Channel Comparator
$ 0.18 $ 0.18

TI LM324PWR OP Amp Quad GP 16V/32V 14-Pin TSSOP
$ 0.23 $ 0.23


TI LM324DR Chip Quadruple Operational Amplifier 14Soic
$ 0.15 $ 0.15

TI OPA2171AIDR SOIC-8 36V Operational Amplifier
$ 0.88 $ 0.88
Product Description:
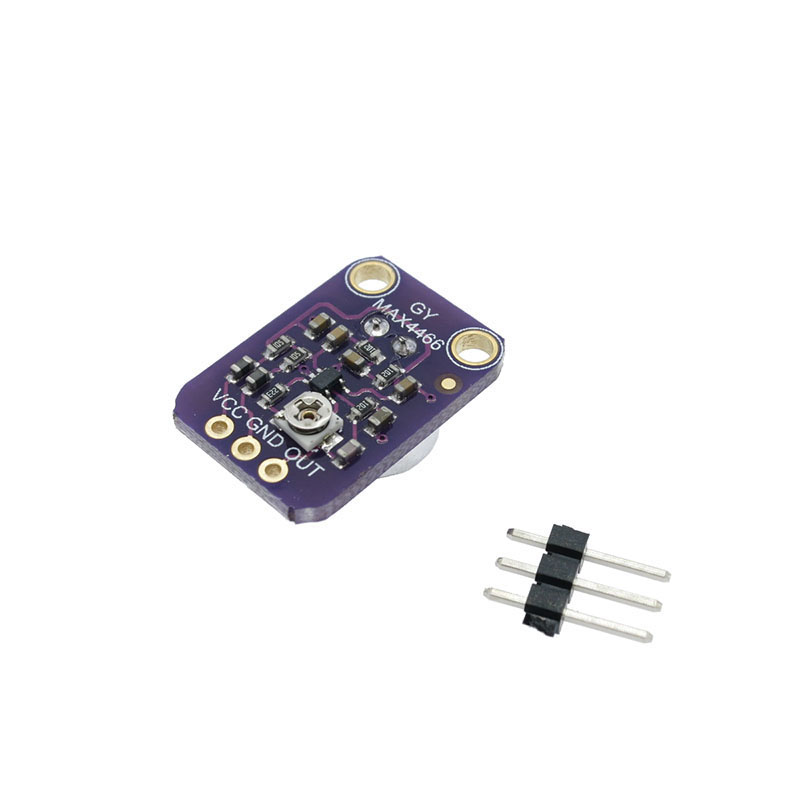
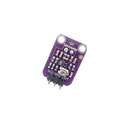
Add an ear to your project with this well-designed electret microphone amplifier.
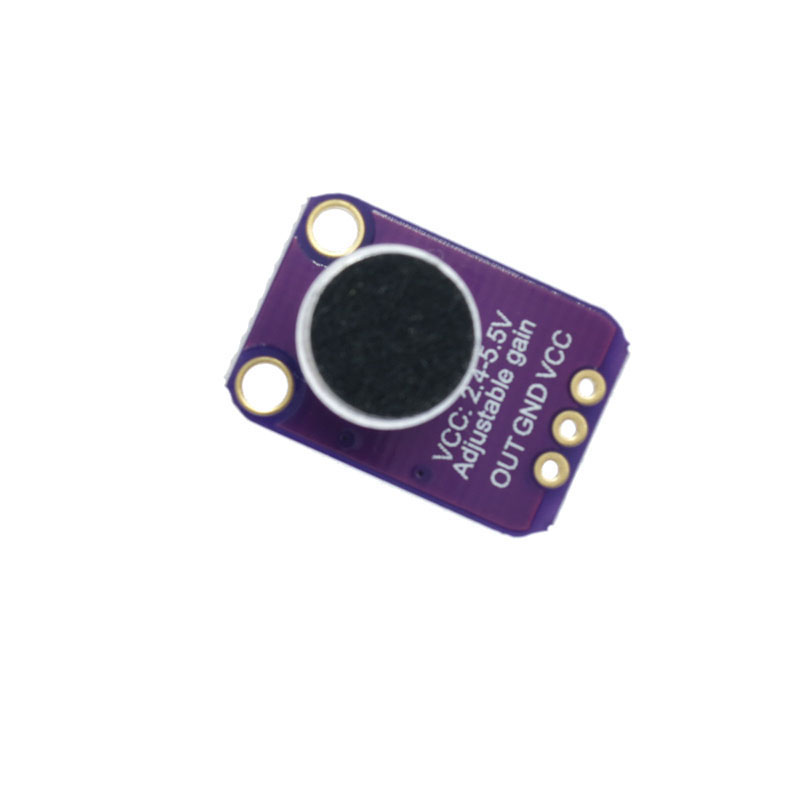
This fully assembled and tested board comes with a 20-20KHz electret microphone soldered on.
This breakout is best used for projects such as voice changers, audio recordingmpling, and audio-reactive projects that use FFT. On the back, we include a small trimmer pot to adjust the gain.
Using it is simple: connect GND to ground, VCC to 2.4-5VDC.
The output pin is not designed to drive speakers or anything but the smallest in-ear headphones
- you'll need an audio amplifier (such as our 3.7W stereo amp) if you want to connect the amp directly to speakers.
Features:
For the amplification, we use the Maxim MAX4466, an op-amp specifically designed for this delicate task!
The amplifier has excellent power supply noise rejection, so this amplifier sounds really good and isn't nearly as noisy or scratchy as other mic amp breakouts we've tried!
You can set the gain from 25x to 125x. That's down to be about 200mVpp (for normal speaking volume about 6" away) which is good for attaching to something that expects 'line level' input without clipping, or up to about 1Vpp, ideal for reading from a microcontroller ADC. The output is rail-to-rail so if the sounds gets loud, the output can go up to 5Vpp!
For the best performance, use the "quietest" supply available (on an Arduino, this would be the 3.3V supply). The audio waveform will come out of the OUT pin. The output will have a DC bias of VCC/2 so when its perfectly quiet, the voltage will be a steady VCC/2 volts (it is DC coupled). If the audio equipment you're using requires AC coupled audio, place a 100uF capacitor between the output pin and the input of your device. If you're connecting to an audio amplifier that has differential inputs or includes decoupling capacitors, the 100uF cap is not required.