
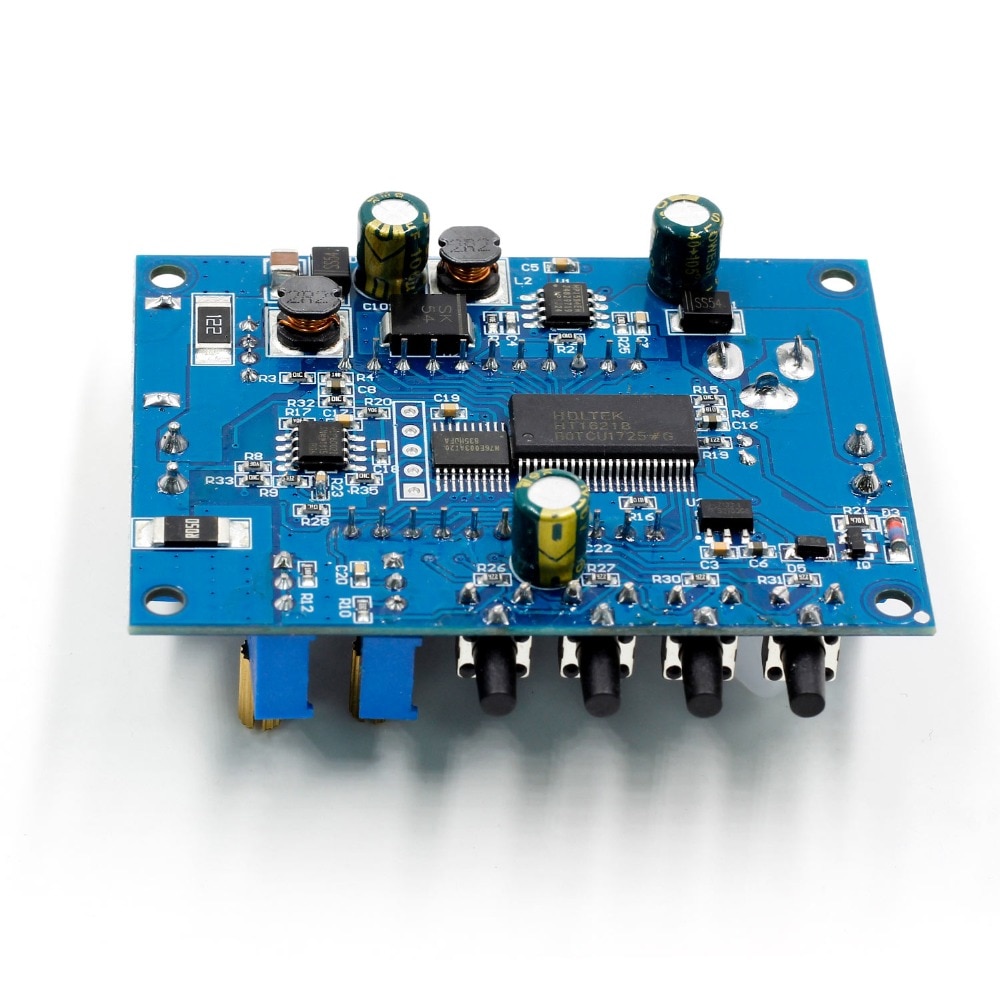
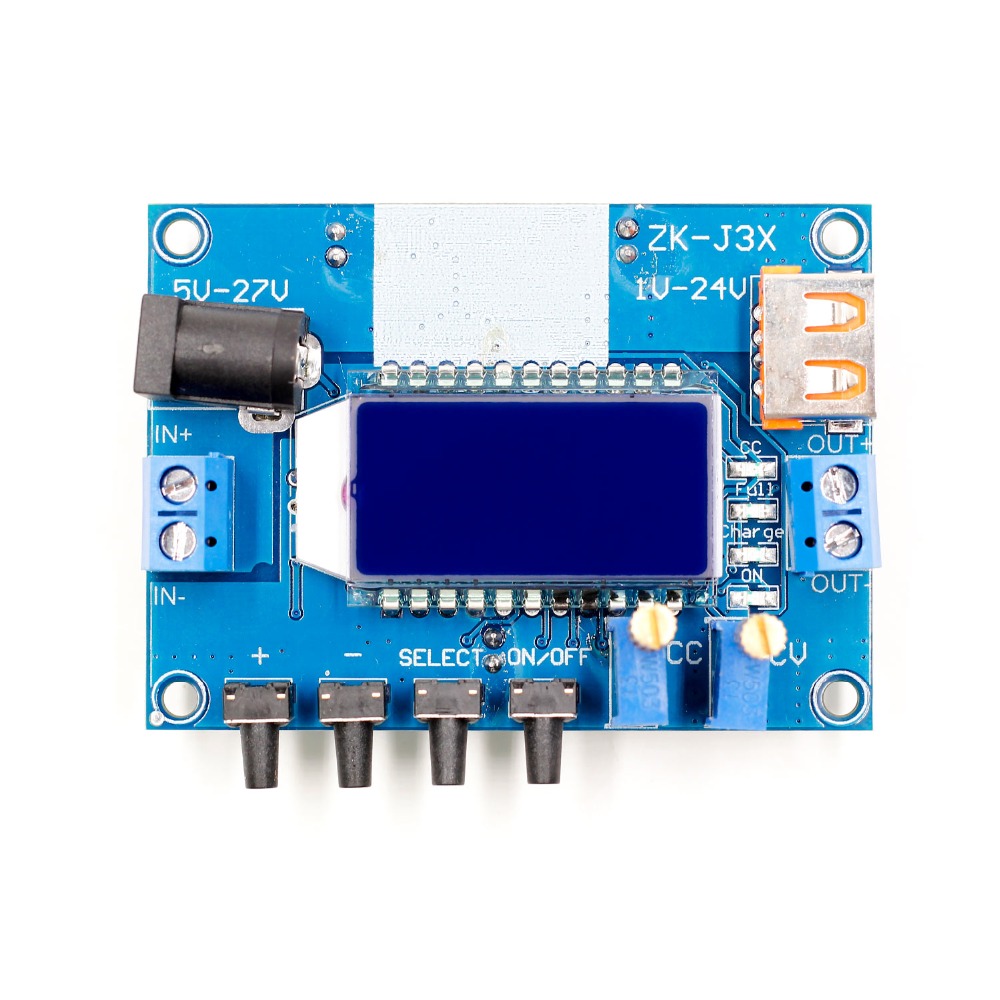


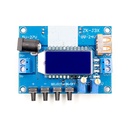
1-24V 3A DC Buck Converter CC CV Regulated Power Supply Module Capacity Voltage Meter
Categories :
Voltage MetersSKU :
1941221100% original guarantee
Return within 30days
Worldwide Fast delivery
You may also like


Parameters:
Input voltage: 5-27 V (the input voltage must be higher than the output voltage 2 V. If you want to produce 5 V, the input voltage must be higher than 7 V, if the output voltage can not be adjust, it may be because the potentiometer rotates above the input voltage, you can adjust the CV potentiometer counterclockwise twenty times to see the output voltage change)
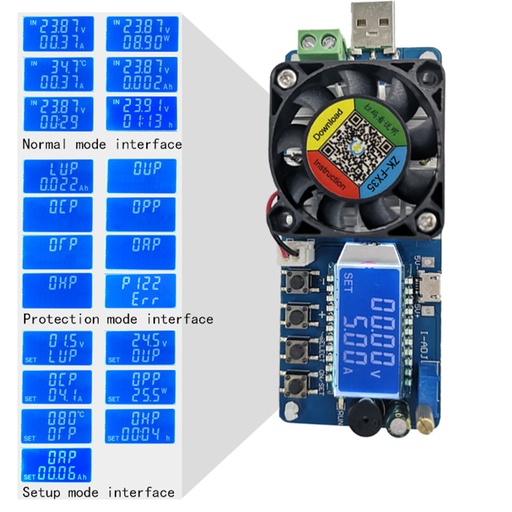
Output voltage: 1-24 V (the output voltage is higher than 24.5 V, automatically turn off the output, show OV, after lowering the output voltage, press the ONOFF button to solve)
Output current: the highest output is approximately 3 a. It is recommended to use in 2.5a. When the heat is great, you need to solve the heat dissipation problem. In constant voltage mode, the output current is adaptable according to the size of the load, and it is not adjustable. (The adjustable limit current is about 3A, the output current exceeds 3A, the output of automatic shutdown, shows OC, reduces the load current, press the ONOFF button to solve)
Output power: less than 30 W (when the output power is higher than 30 W, the output turns off automatically, the OP is displayed, after the load power is reduced, press the ONOFF button to solve)
Voltage display: resolution 0.01 V, factory accuracy ± 0.1 V plus or minus (you can correct yourself)
Current screen: Resolution 0.001A, range 0-3A, factory accuracy ± 0. 05A; the display error is greater when the output current is less than A, a small current can not be displayed within 10-40 mA (calibration when the output current is greater than)
Capacity screen: 0.001Ah resolution, 99.99Ah range (long '-' can be pressed to clear, save automatically after power failure, accumulate automatically after power on Saturate after reaching Ah, must be removed manually)
Conversion efficiency: less than 95%
Operating current: approximately 30 mA
Anti-Recoil output: Yes, it can be connected directly to the battery for charging, it is not necessary to add diodes (there is a dummy equivalent load of 1 K ohms inside the module output.) After the end of charging, the battery will lose power of the battery, note that the output is connected in series with a diode)
The function Description:
1. Button
"+" Button: long press or exit of the precision correction interface; short press: the current correction value should be increased by one unit;
"-" Button: long press-removes the value of the capacity count; short press-the current correction value must be reduced by one unit;
"Select" button: long pressure switch between current, power and capacity screen; Short pressure switch between the input voltage and the output voltage screen;
"ON / OFF button: long-term push-Set the default power on to be off or on; short press-controls the output to turn on or off.
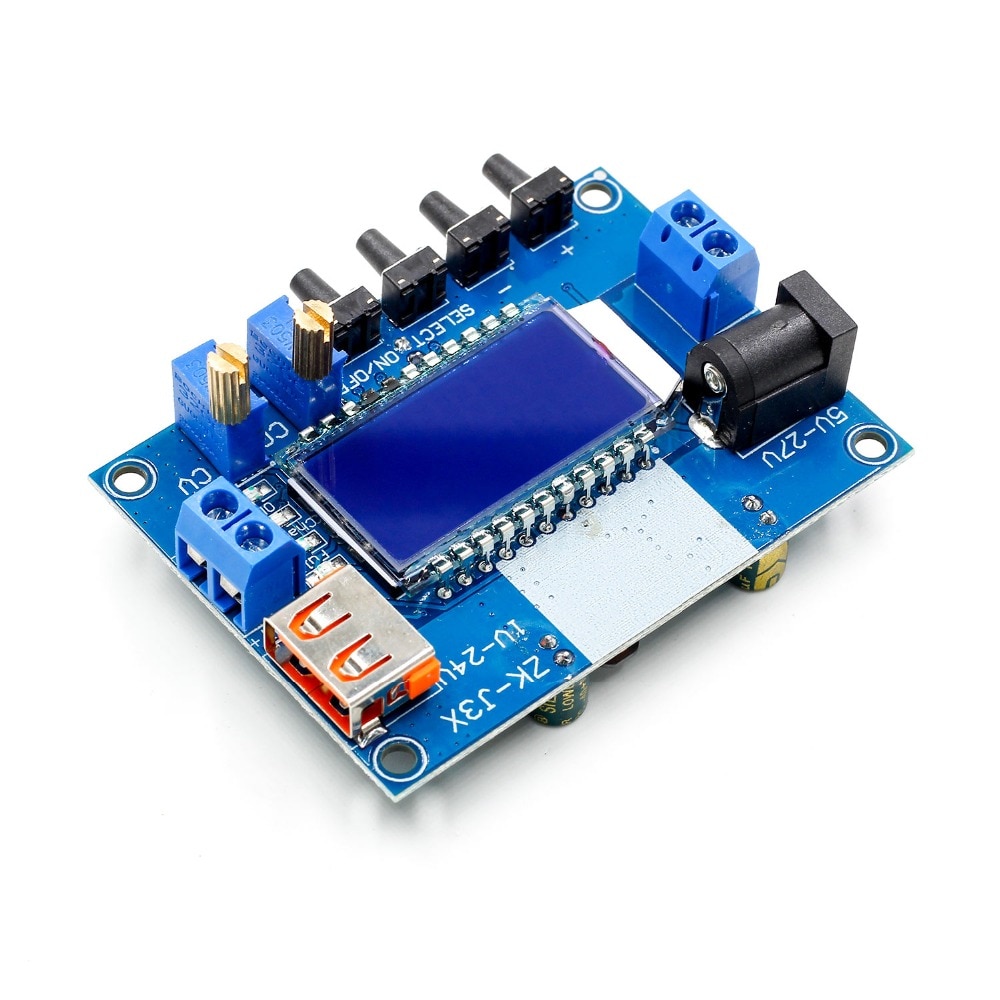
2. Potentiometer knob
On the left side is the DC current adjustment potentiometer, which turns clockwise to increase the current of the assembly. When the load current reaches the set Current, it enters the constant current state (keep in mind that the potentiometer can increase the output current, under constant pressure). the output current depends only on the load and is based on the load);
On the right side is the CV voltage adjustment potentiometer, clockwise rotation, can increase the output voltage (this is a buck module, the input voltage must be higher than the output voltage 2 V, if the output can not be adjusted, first adjust the CV potentiometer counterclockwise).
3. The indicators
CC - constant current indicator light, bright when the constant current (red);
Full - the battery is full of indicator light (green). If the constant current value is set to 2A, the lamp will rotate when the charging current reaches or less. The full indicator will light and the charge indicator will turn off.
Battery charge indicator (blue);
Status indicator on the output (green);
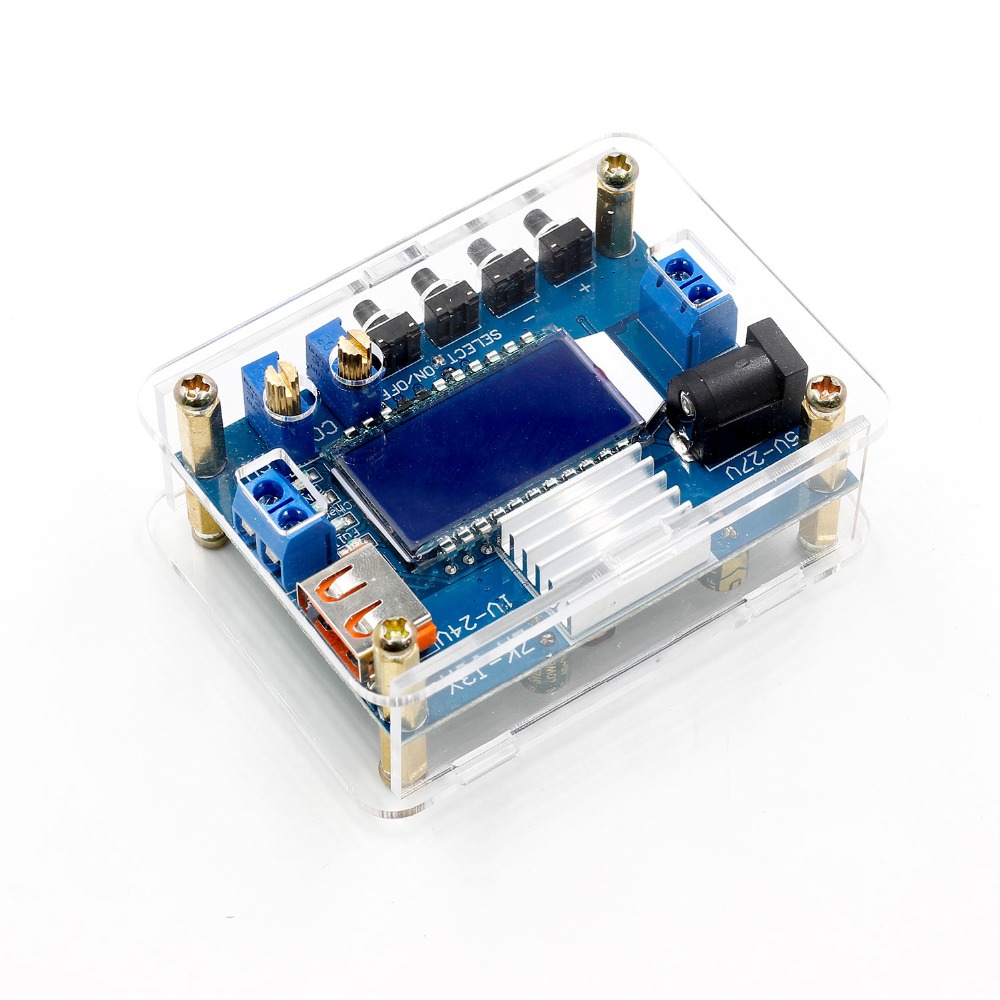
4. Ports of entry and exit
Input-left side, DC socket 5.5mm or 5.08mm terminal as input;
Output-right side, USB port or 5.08mm terminal as output, can also be sent at the same time (Special attention! The USB port voltage is not absolute 5V, and the terminal is directly connected, the adjustable range it is 1-24 V)
5. Precision calibration method
Input voltage calibration-press the "+" button to enter the set interface, the current screen is the voltage input, press the "+" or "-" button to adjust, press the "+" button to exit the interface of the set;
6. Output voltage calibration
keep the "+" key pressed to enter the set interface. The current screen is the voltage input. Press the "select" button to change the output voltage. Press the "+" or "-" button to adjust. Press the "+" button to exit the set interface;
7.Calibration of output current
keep the "+" key pressed to enter the set interface. The current screen is the voltage input. Press the "select" button to change the output voltage. Press the "select" button again to switch to the output interface of the screen. After pressing the "+" or "-" button to adjust the press and the "+" exit button the interface set Note: The calibration is more accurate when the current is greater than 1 A; the display error is large when the output current is less than A, and it can not be displayed when the output current is less than 10-40 mA.